Artificial Green Grass Price : Salmon Savory Moist Growers Treats Bell Semi Pet Rock Cat Petonly
Feline Natural Healthy Bites - Chicken – PetSaveNZ.
I am a houseplant and gardening enthusiast with an equally enthusiastic cat, so I grow wheatgrass for her to save my plants!
Fresh wheatgrass keeps Lucy out of my potted plants! Suzanne Bennett
Wheatgrass Is Healthy for Cats and Cheap to Grow
My cat, Lucy, loves fresh greenery, and she has made short work of a good many plants. When Lucy goes after a plant, she tears up the leaves, knocks it over, pulls all the soil out of the pot, and strews it far and wide. For this reason, I've had to set up all my plants in areas where they can be behind a closed door when I'm not there to supervise. Even so, occasionally Lucy gets shut in with the plants and mayhem ensues.
I wanted to give her an alternative, so I looked into grass-growing kits for cats and found that they are outrageously expensive. For $10 or more, you get a small plastic tray and a handful of seed. The cat enjoys it for a few days and then it's gone. Then one day, when I was doing research for an article on growing sprouts, I hit upon the idea of growing wheatgrass for Lucy. You probably already have almost everything you need for this project. Here's what I figured out.
The only thing you have to buy specially is the big bag of wheat grass seed. Suzanne Bennett
Reuse Veggie Packaging to Make Your Wheatgrass Trays
Supplies
Growing wheatgrass is an excellent way to reuse the little tubs that are used as mushroom packaging. You'll need two.
Styrofoam veggie trays* make good drainage trays after watering. Use the kind that veggies come in, not meat. Styrofoam trays that have held meat may harbor dangerous bacteria. *Update, November 2021: Actually, I have found that the Styrofoam tray is unnecessary. I just allow the water to run through the holes in the bottom of the inner tub before placing it in the outer tub. Doing this encourages the roots to grow in a way that holds the grass in place so kitty can't pull the whole thing out of the tub!
A single, half-size paper towel, cut in half makes your growing medium. No messy soil.
A piece of plastic wrap(or a clear plastic bag) keeps moisture in for the first couple of days.
You'll also need scissors and some sort of sharp implement to make holes in one of the mushroom tubs.
I use the tip of a heated awl to poke four holes in the corners of the inner tub. 1 / 2
1. Make Drainage Holes in One of the Mushroom Tubs
You'll need one mushroom tub to plant your seed. Begin by poking holes in the bottom of the tub to allow excess water to drain out. I use a heated awl for this purpose because I have found that using a cold implement just tears up the container. They are a little bit fragile.
Be careful using a heated implement. Make sure it has a handle that will protect you against accidental burns. Set it on a hard, non-flammable surface (like the top of your stove or in your kitchen sink) to cool off completely before putting it away.
Once you've made your drainage holes, cut your half-sized paper towel in half and line the bottom of the tub with one half.
Sow a handful of wheat grass seed on the paper towel. 1 / 3
2. Prepare Your Growing Medium and Sow Your Seed
Sprinkle a handful of seed over the piece of paper towel to result in a single layer of seed completely covering the towel. Put the other half towel over the seed and press it down.
Gently run water from the tap over the seed. I usually let it half fill the tub and then just set it in the sink to allow the excess to run out. Don't tip the tub to hurry the drainage because this will displace the seed. You want to keep it in a single layer.
Water generously and gently. Allow water to drain out gradually. 1 / 2
3. Water the Seed, Cover With Plastic Wrap, and Set Aside to Germinate
Once most of the excess water has drained out of the tub, set it on your Styrofoam tray to prevent dripping.
Cover the tub lightly with plastic wrap, or place tub and all into a clear plastic bag, to hold moisture in.
Put the tub in a warm area with bright, indirect sunlight to germinate. Run water over the seed and allow it to drain every day. You should see sprouts within a day or two.
Days 1 and 2 Day #1: You can barely see the sprouted seeds through the paper towel. 1 / 2
4. Water Daily and Give Your Sprouts Some Head Room
Every day, take the tub to the sink and run fresh water through the seeds/sprouts. This provides them with the water they need and washes away any fungus that may try to grow.
On the first day, you'll be able to see that the seeds have just started to sprout. On the second day, you'll see green. This means you can remove the top towel so the grass can start to grow upward.
Leave the plastic in place for another day or two.
Days 3 and 4 Day #3: Remove the plastic and continue watering daily. 1 / 2
5. When It Looks Like Grass, Remove the Plastic
Once green grass starts to grow, remove the plastic so that it can get tall. You'll want to let it grow for another two or three days before you give it to your cat. If you want, you can move the tub to an area that gets some direct sunlight. This will encourage it to grow a little faster and produce more chlorophyll.
Continue to wash water through the container every day to water the grass and prevent fungal growth.
Day 5 and 6 Day #5: This grass is just about ready, but I want it a little taller. 1 / 2
6. Now It's Ready to Meet Kitty
Your grass should be tall enough to give to your cat on the fifth day, but I like to give it another day to get a little taller. Before I present it to my cat, I set the planting tub into the second tub (the one without drainage holes). This prevents leaks and protects the roots, which grow out through the holes.
Lucy comes running when a fresh batch of wheat grass is ready. Suzanne Bennett
Start a Fresh Batch Right Away
I like to keep two batches of wheat grass growing at once. It's a good idea to start the second one three days after starting the first one so that you'll always have fresh grass ready. I alternate the pots of grass every day to give them a break from Lucy and make them last longer.
I let her keep one pot to chew on during my waking hours. Before I go to bed, I take that pot away and water it. The next morning I put out the alternate pot so that the one that's been chewed on can have a rest.
Doing it this way makes each pot last about a week. When one really begins looking ragged, I just let Lucy keep it until it's destroyed. I dump the grass in my compost bin, wash out the pot and start over again.
This Grass Is Ready to Be Retired This grass is a couple of weeks old altogether. 1 / 2
This content is accurate and true to the best of the author’s knowledge and is not meant to substitute for formal and individualized advice from a qualified professional.
© 2020 justmesuzanne
justmesuzanne (author) from Texas on November 23, 2020:
My pleasure! :) Glad I could help!
JC Scull on June 23, 2020:
I am a cat person, so I appreciate this tip. Thank you for sharing.
Devika Primić from Dubrovnik, Croatia on March 26, 2020:
Great tips on how to grow wheat grass. I did grow wheat grass a few years ago for the Christmas tradition and succeeded however your tips are useful
Anya Ali from Rabwah, Pakistan on March 26, 2020:
Thank you for a very useful hub.
How To Grow Cat Grass Outside Cat grass is exactly what it sounds like – grass that is safe for your feline to eat. Many cats like to eat it as well, though an equal number of cats are completely uninterested. However, for cats that enjoy noshing on a bit of green, it can provide some stimulation and keep them entertained. Typically, cat grass is actually a mixture of different grasses. Depending on what cat grasses are included in your particular set of seeds, cat grass can also provide a variety of different nutrients. Luckily, cat grass is pretty easy to grow and maintain. Even if you aren’t much of a green thumb, you should find this plant pretty easy to grow. How to Grow Cat Grass Indoors Growing cat grass is extremely similar no matter where you are growing it. However, when growing it indoors, you do need to be more concerned with lighting. It does require quite a bit of light. Therefore, you need to be sure to place it somewhere near direct sunlight. Otherwise, a growing light may be necessary. However, you also don’t have to worry as much about diseases and pests. After all, the odds of bugs finding your grass inside are quite low! With that said, it is still possible, especially if you have other plants inside. Beyond these slight differences, the growth procedure is identical for indoor and outdoor cat grass. 1. Pick Your Grasses There are a few different types of grass you can utilize as cat grass. The most common sorts are barley, oat, rye, and wheatgrass seeds. In the end, which seeds you choose doesn’t matter all that much. You can purchase a mixture of cat grasses from a local pet store or online. Alternatively, you can purchase a specific type of seed separately. We recommend getting your seeds from a high-quality source – preferably organic. Otherwise, you don’t really know what you’re getting. On top of grasses, you’ll also need to pick out soil and a small pot. Be sure that the soil is safe for your feline, as they will likely be digging around in it quite a bit. You don’t want to choose soil with fertilizers mixed in, as many of them are not safe for felines. 2. Plant Your Seeds These seeds are extremely easy to grow. In many cases, you may simply be able to throw the seeds onto the soil, and they’ll sprout within a week or so. Technically, you should plant seeds about an inch or two into the soil. However, the specifics are not super important for these seeds. There is no need to get your ruler out and measure. You can partially cover your pot with plastic wrap to speed up the sprouting process. This step makes it more humid within the pot, which can encourage the seeds to germinate. Of course, you should place the seeds in direct sunlight. While they will often grow without sunlight, the blades will be tall and lanky – not actually very beefy. You should notice the seedlings sprouting after 2-3 days. However, some may take a bit longer to get going. 3. Location, Location, Location Whether you’re planting your cat grass inside or outside, it’s essential to plant them in the correct location. Cat grass is pretty sturdy, but it can’t grow well when put in the wrong location. It needs quite a bit of sunlight, for example. Therefore, you should plant it in a location that gets direct sunlight. Indoors, this can be a bit more difficult. However, it is essential if you want your grass to be thick and edible. The most important part of planting cat grass is the location. Beyond this, it can survive in a variety of conditions. Put it in the right place, and you can basically leave it alone beside watering. 4. Keep the Soil Moist The soil should stay moist. Don’t overwater, as this can lead to root rot. However, if your pot has good drainage, this is less of a problem. After all, the excess water should drain out of the bottom of the pot. Generally, you don’t have to be very specific about the watering pattern. As long as you are providing water, the plant will probably be just fine! 5. Don’t Let Your Cat Eat It Right Away You may be tempted to see if your feline likes the grass as soon as it sprouts. However, at this stage, your cat can easily overeat the grass at a faster rate than it grows. Therefore, you should be cautious about letting your cat go to town as soon as the sprouts are up. They may destroy the plant pretty quickly! Therefore, you may want to put the grass up somewhere high where your feline cannot get it. If you have indoor cats, the beginning stages may be a good time to grow your grass outside. If your cats are indoor and outdoor cats, you may have to be a bit creative with where to hide the grass before it gets long enough. Once the grass is about 4-6 inches tall, you can introduce it to your cats. At this point, they likely won’t eat it faster than it can grow. If you have multiple cats, we recommend waiting until the grass is closer to 6 inches. After all, multiple cats will be eating the same cat grass. 6. Trim as Needed Your cat will likely be eating the grass regularly. However, if you don’t consume enough, you’ll need to trim it back at least an inch each week. Otherwise, the ends may flop over, which can cause growth problems. Plus, if the stalks get so heavy that they touch the ground, diseases are far more common. If the leaves start flopping, you should plan on trimming them more. 7. Resow Regularly You will need to add more seeds to the pot regularly. The first few stalks won’t last forever. You want to promote regular growth, which will ensure that your felines continue to have grass for years to come. Plus, it will also prevent your feline from eating all the grass. If the new seeds are sprouting, there will be backup growth once the new plants are tall enough. However, you don’t need to hide the pot again when the new grass is younger. The tall grass should provide some protection and prevent your feline from chewing the newer grass. Plus, if it doesn’t, then your cat isn’t destroying the whole pot, at least. 8. Watch for Pests You should carefully watch for pests. These can hurt your cat grass and are not appetizing for your felines. If you’re growing the grass indoors, this is often less of a problem. However, it can still happen, especially if you have more house plants. Sometimes, the parasites can jump from plant to plant. Diseases can also spread from plant to plant. Again, these are most common for outdoor plants. However, it can occur with indoor plants as well. Conclusion Many cats love cat grass. It provides them with some extra nutrients, as well as some entertainment. Luckily, cat grass is extremely easy to grow. Generally, you can simply put the seeds in the correct soil and location and leave them be. Regularly re-sow them to ensure that there is a steady supply of grass. Of course, don’t use anything on the grass that isn’t safe for your cat. They will be eating it, after all. This includes fertilizers and similar substances. Everything should be made for safe consumption. When in doubt, don’t use it. The last thing your cat needs is to get sick from grass! Featured Image Credit: lam vika, Pixabay
. searching about Feline Natural Healthy Bites - Chicken – PetSaveNZ you've came to the right page. We have 9 Images about Feline Natural Healthy Bites - Chicken – PetSaveNZ like Synthetic Artificial Grass Turf 2x10m - Green - 10mm, Synthetic Artificial Grass Turf 2x10m - Green &Yellow- 30mm and also Simple Green Outdoor Odor Eliminator for Pets, Dogs, 1 gallon Refill. Here you go:Feline Natural Healthy Bites - Chicken – PetSaveNZ
 www.petsave.nz
feline.
Bell Rock Growers Pet Green Semi Moist Savory Salmon Cat Treats
 www.petonly.ca
salmon savory moist growers treats bell semi pet rock cat petonly.
Agriculture Garden Decor And A-12950659|Mzad Qatar
 en.mzadqatar.com
2344.
Synthetic Artificial Grass Turf 2x10m - Green - 10mm
 alwaysdirect.com.au
kravet.
Artificial Plant Importers Australia | Trees | Flowers Plastic Hedges
 www.artificialplantimporters.com.au
.
Simple Green Outdoor Odor Eliminator For Pets, Dogs, 1 Gallon Refill
 dogbowwow.com
odor lawns eliminator.
Decorative Natural Wild Wheat Grass Triticum Spelta For Florist
 www.alibaba.com
wheat grass decorative triticum wild natural spelta florist collections larger.
Synthetic Artificial Grass Turf 2x10m - Green &Yellow- 30mm
 alwaysdirect.com.au
views synthetic turf artificial grass yellow alwaysdirect.
Ottomanson Evergreen Artificial Solid Grass Design Green Indoor/Outdoor
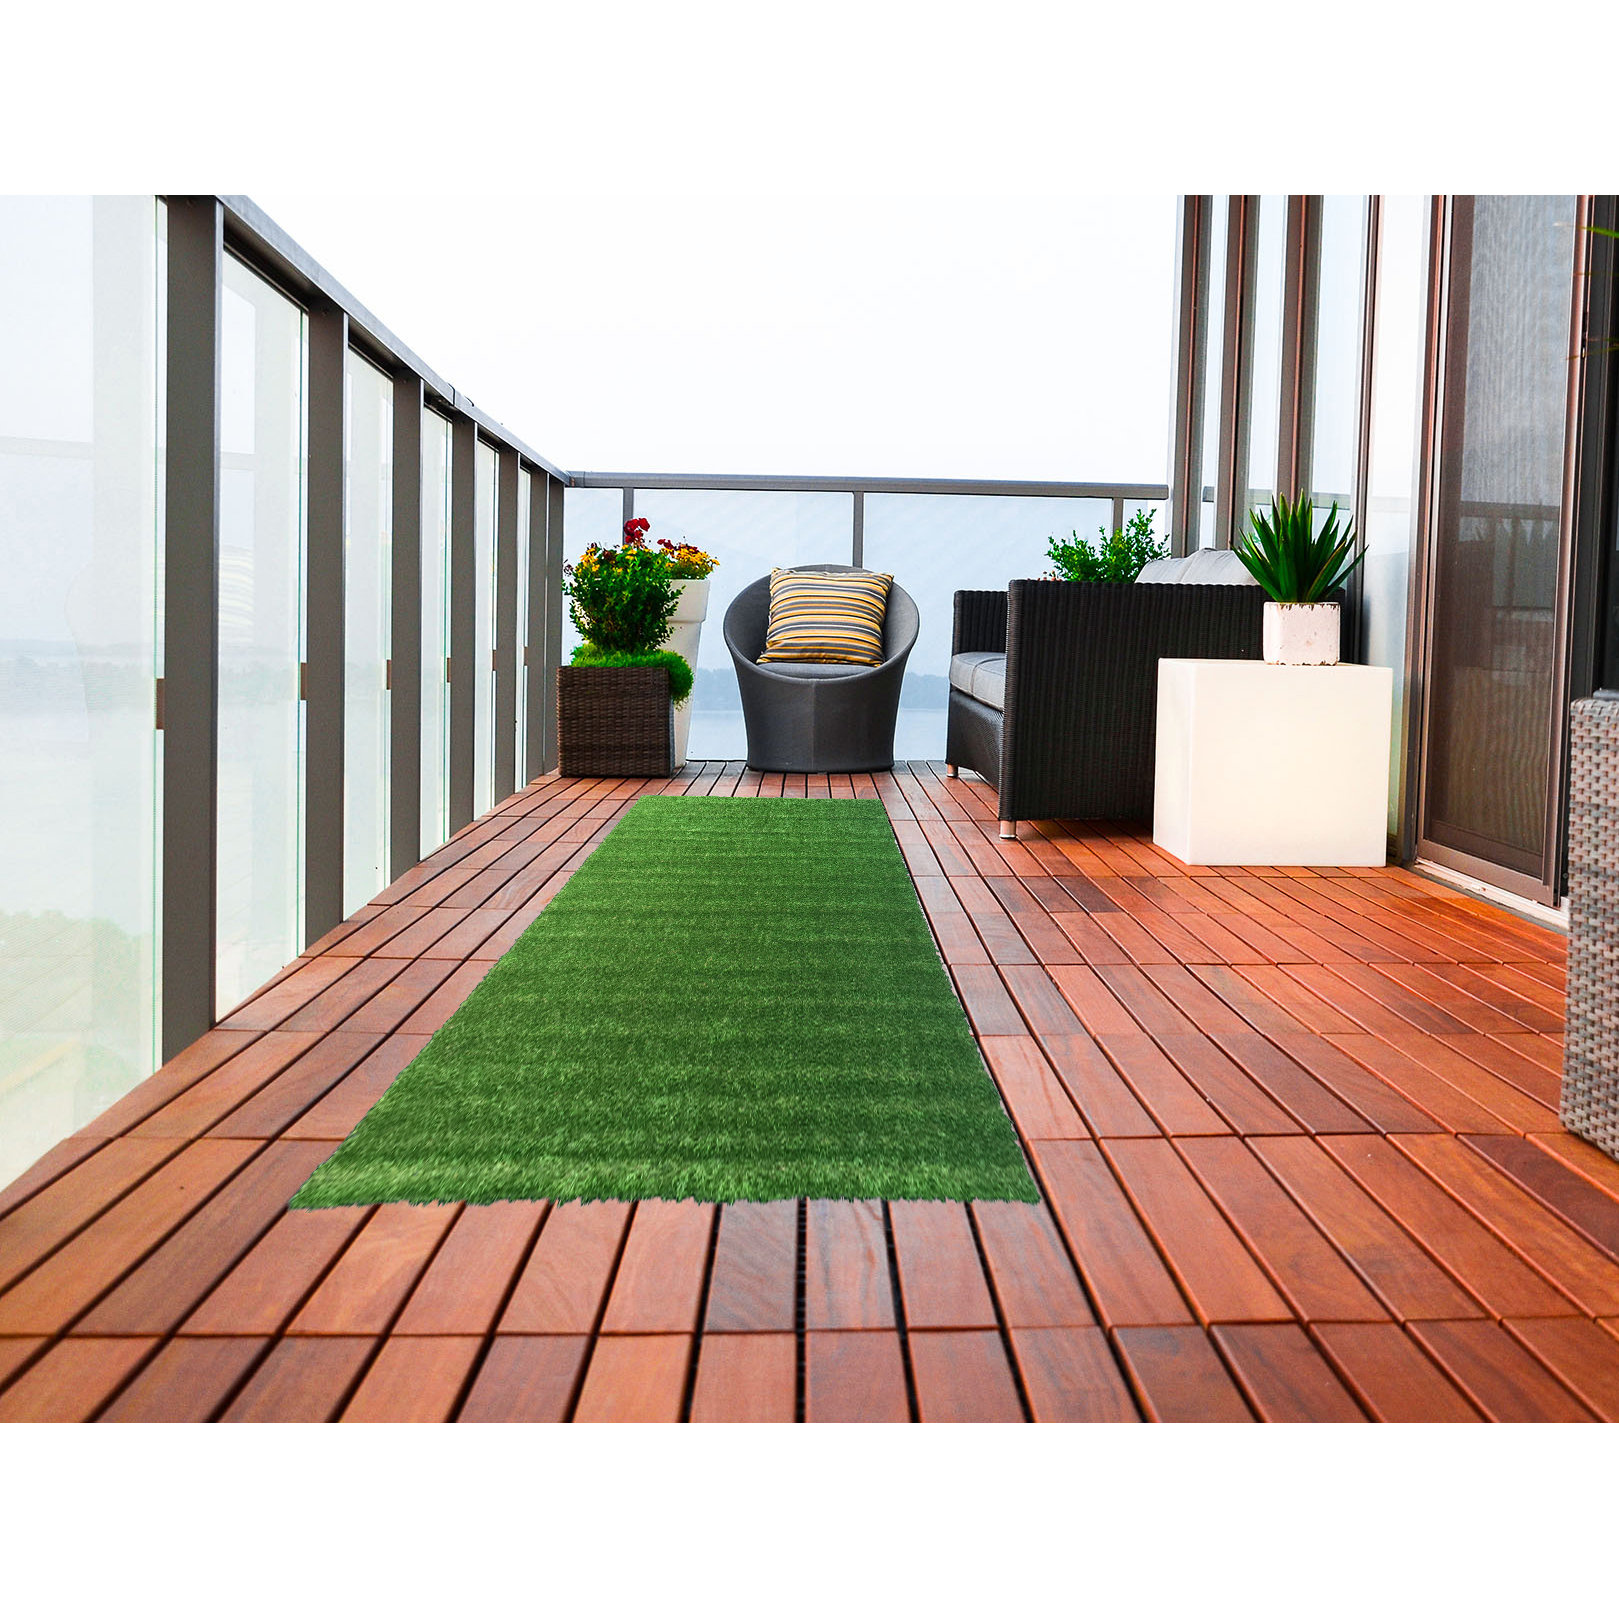 www.wayfair.com
artificial grass indoor outdoor area rug solid evergreen ottomanson meadowland sweethome.
